
Overview
FalkorDB is available as a Snowflake Native App, allowing you to run graph database operations directly within your Snowflake environment. This integration enables you to:- Load data from Snowflake tables into graph structures
- Query relationships using Cypher query language
- Analyze connected data without moving it outside Snowflake
- Leverage graph algorithms on your existing data warehouse
- Use FalkorDB Browser to visually explore graphs and run Cypher interactively
- Use a Snowflake Cortex Agent to inspect graphs, generate Cypher, load bound tables, and execute graph queries from natural language
Table of Contents
- Quick Start
- Which interface should I use?
- Installation
- Prepare and load Snowflake data
- Querying graphs
- Writing query results back to Snowflake
- Air Routes example
- Webinar demo: Air Routes end to end
- FalkorDB Browser
- Snowflake Cortex Agent
- Troubleshooting
Quick Start
Use this path when you want to install FalkorDB, load your first Snowflake table, and run your first graph query.- Install FalkorDB from Snowflake Marketplace.
- Grant the requested application privileges.
-
Start the FalkorDB service:
- Prepare a Snowflake table. You can use an existing table, create one with SQL, or upload a CSV through Snowflake UI using Data / Ingestion -> Add Data -> Load data into table.
-
Bind that table to the Native App reference named
consumer_data_table. -
Load the bound table into a graph with
load_csv(): -
Query the graph:
- Open FalkorDB Browser or create the Cortex Agent when you want a visual or natural-language workflow.
Which interface should I use?
FalkorDB exposes the same graph service through several Snowflake-friendly interfaces:
Recommended first workflow:
- Install the Native App and grant the requested app privileges.
- Start the service with
start_app(). - Open FalkorDB Browser to confirm the service is reachable.
- Bind a Snowflake table to
consumer_data_table. - Load nodes with
load_csv()usingMERGE. - Create indexes for node properties used by relationship loads.
- Load relationships.
- Query with
graph_query()or the Browser. - Create the Cortex Agent when you want natural-language graph workflows.
Installation
From Snowflake Marketplace
- Navigate to Snowflake Marketplace
- Search for “FalkorDB”
- Click Get to install the app
- Select your target database and warehouse
- Click Get to complete installation
Required Application Privileges
The app requests these privileges during installation or upgrade:
For Cortex Agent text-to-Cypher, also grant the Cortex database role directly to the application:
Initial Setup
After installation, start the FalkorDB service:<app_instance_name> with the name you chose during installation.
Wait for the service status to show READY before proceeding (typically 2-3 minutes). Interpreting the get_service_status() output:
- An empty result (
[]) means the service is still starting. This is not an error; wait a bit and call the procedure again. - When the service is ready, the result contains a container entry with
"status":"READY":
CPU_X64_S compute pool with FalkorDB container resources of 1 CPU / 2GB RAM requested and 2 CPU / 4GB RAM limit. For larger graph loads, start the app with explicit resource options:
Requests must fit on the selected compute pool node. If the requested CPU/memory is larger than the pool can schedule, Snowflake fails to schedule the service or reports insufficient resources.
start_app() also creates or refreshes the SQL wrappers used by the Native App, including Agent tools. After installing a new app patch that adds procedures or tools, run start_app() again before recreating the Agent or testing new tools.
Open the FalkorDB Browser
FalkorDB Browser is a web UI for exploring your graphs visually, inspecting nodes and relationships, and running Cypher queries interactively against the FalkorDB service. Afterget_service_status() shows the service is ready, get the public browser URL:
browser_url in your web browser. If the endpoint is not ready yet, wait for the service status to become READY and run the endpoint query again.
Basic Usage
Creating a Graph from Direct Queries
The simplest way to create a graph is using direct Cypher queries:Loading Data from Snowflake Tables
To load data from your existing Snowflake tables, you need to bind a table reference:Step 0: Prepare a Snowflake Table
FalkorDB loads data from a Snowflake table that is bound to the Native App. Before binding, make sure your source data exists as a table. You have two common options: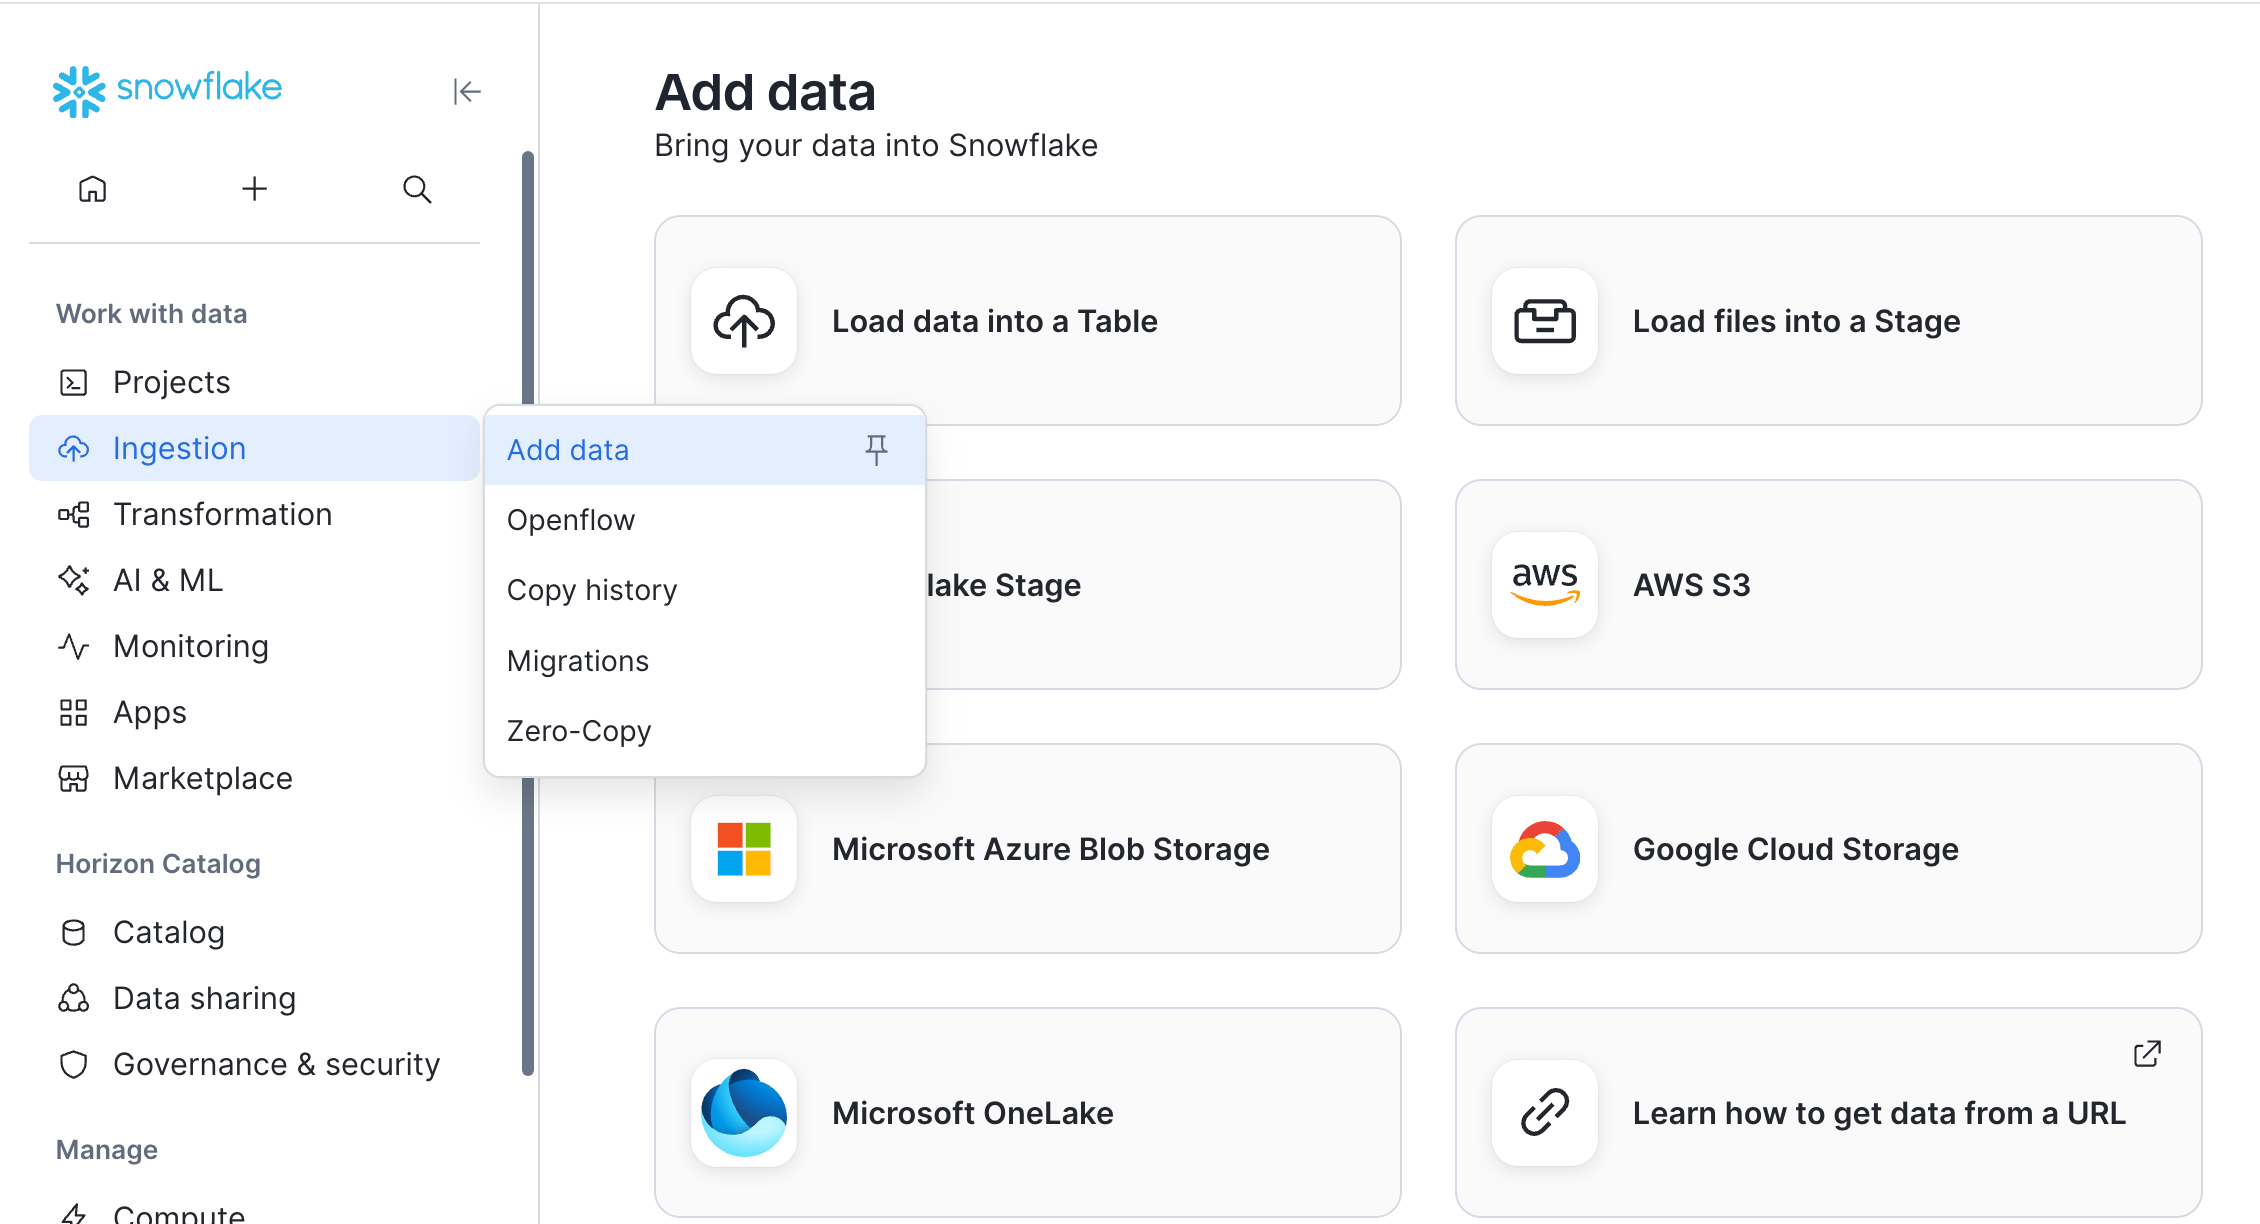
consumer_data_table.
After the table exists, check its column order. load_csv() maps values by position, so row[0] means the first column in the bound table, row[1] means the second column, and so on.
Step 1: Bind Your Table
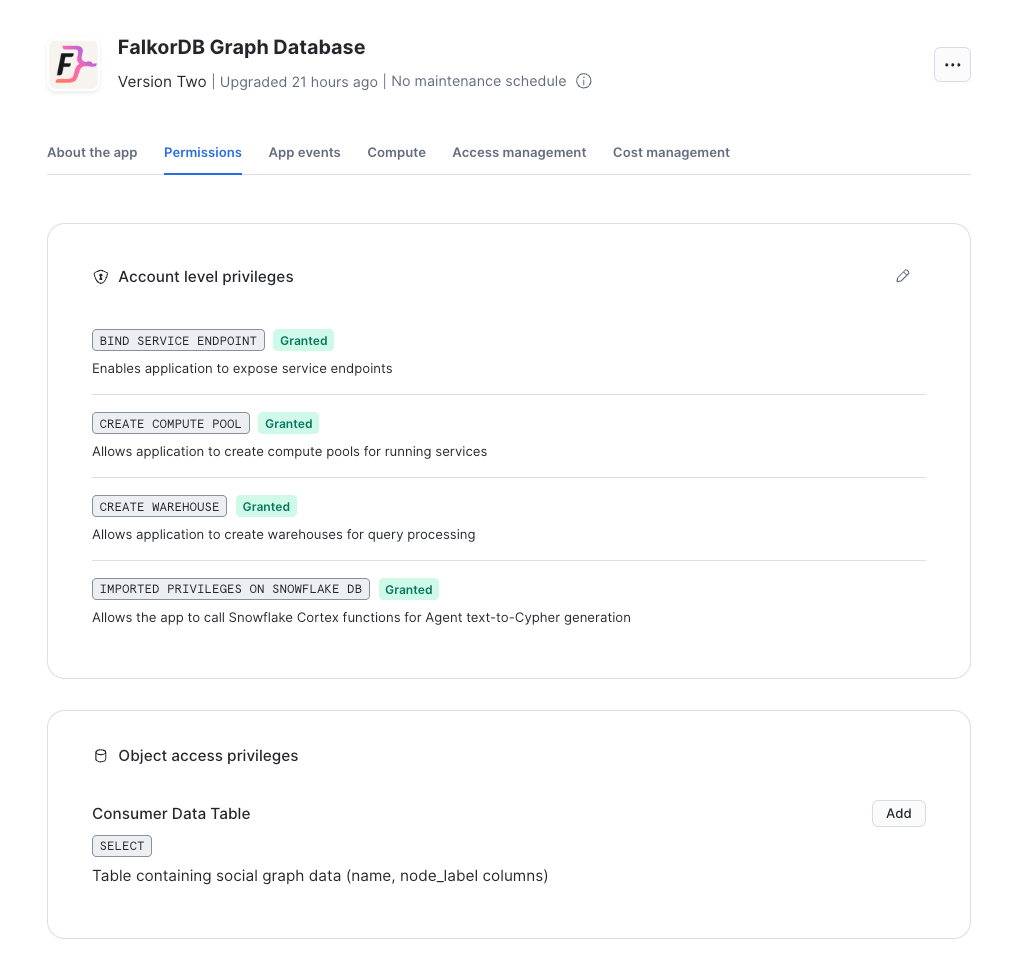
- In Snowflake UI, go to Data Products → Apps
- Find and click on FalkorDB
- Go to Permissions and find Object access privileges
- Click + Add next to “Consumer Data Table”
- Select your database, schema, and table
- Click Save
load_csv() reads the bound Snowflake table by column position, not by column name. Use DESCRIBE TABLE <database.schema.table> or SELECT * FROM <database.schema.table> LIMIT 1 to confirm column order before writing the row[0], row[1], etc. mapping.
You can verify the active reference from SQL:
consumer_data_table. If you rebind the reference to a different table, the next load_csv() call reads from the newly bound table.
Step 2: Load Data Using CSV
- The table is automatically retrieved from your Config UI binding - no need to specify it as a parameter
- The Cypher query must include
LOAD CSV FROM 'file://consumer_data.csv' AS rowto access the CSV data - Access columns using
row[0],row[1],row[2], etc. (0-indexed) - The file name in the
file://...clause is a placeholder; the app passes the actual staged CSV filename to the FalkorDB service for each load - Use MERGE instead of CREATE to safely reload data without duplicates
- Large bound tables can be exported as multiple CSV parts. The app loads each part sequentially, sorted lexicographically by staged file name.
- For large
MERGEloads, create an index on the matched label/property before loading.
row[index] maps to labels, relationship types, and properties. For example, if an AIRPORTS table is bound with columns ordered as id, ident, type, name, latitude, longitude, ..., your Cypher should use row[0] for id, row[3] for name, etc.
Loading relationships usually requires the referenced nodes to exist first. A common pattern is:
- Bind and load node tables first, using
MERGEon stable IDs. - Create indexes on node lookup properties used by relationship loads.
- Rebind
consumer_data_tableto the edge table. - Load relationships with
MATCHfor source and destination nodes. UseCREATEfor distinct source rows, orMERGEonly when you have a stable relationship identity.
Multi-part CSV staging behavior
load_csv exports the bound table into a unique folder under @app_public.staging. Snowflake may write one CSV file or split a large export into multiple part files. The app lists that folder, validates each generated filename, sorts the names lexicographically for deterministic retries, and copies each part to the stage root before calling the FalkorDB service.
The stage-root copy is intentional. The container mounts @app_public.staging at /var/lib/FalkorDB/import, and the service expects a flat file name in that import directory. The generated folder path stays internal to the Snowflake wrapper so examples with LOAD CSV FROM 'file://consumer_data.csv' continue to work.
Multi-part loads are sequential and are not rolled back as a single transaction. If one part succeeds and a later part fails, graph changes from successful parts remain. Prefer idempotent MERGE queries for retry-safe node imports.
Querying Graphs
Usegraph_query() to run Cypher queries:
Writing Query Results Back to Snowflake
Pass awrite.outputTable option to graph_query() when you want Cypher query results to persist as a Snowflake table:
Managing Graphs
Practical Example: Air Routes Graph
This example shows a realistic graph built from Snowflake tables such asCOUNTRIES, AIRPORTS, and ROUTES.
Load Countries
Load Airports
Rebindconsumer_data_table to the airport table, then load airport nodes. This mapping assumes the table column order is:
Load Routes
Validate the Graph
Write Air Routes Results Back to Snowflake
Webinar Demo: Air Routes End to End
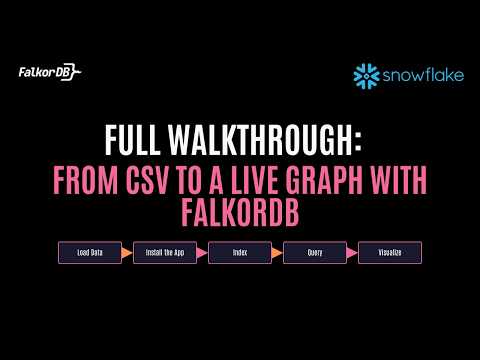
This is the complete, copy-paste flow shown in the FalkorDB Snowflake webinar: download two CSV files, load them into Snowflake tables through the UI, install the Native App, build theairroutes graph, and compare a multi-hop Cypher query with its SQL equivalent.
Watch the full walkthrough:
Step 1: Download the demo data
Download the two demo files from the airroutes example folder:- airports.csv (about 8 MB, one row per airport)
- routes.csv (about 2.7 MB, one row per airline route)
row[n] mappings used below.
Step 2: Load the CSVs into Snowflake tables
Create the demo database and both tables from the Snowflake UI (no SQL needed):- In the Snowflake sidebar, go to Ingestion → Add Data → Load data into a table.
- Click Browse and select the downloaded
airports.csv. - Under database, click + Database and name the new database
ROUTES_DEMO. - Choose Create new table, name it
AIRPORTS, then click Next. - Review the detected columns, click Next, then Load. Wait for the success message.
- Go to Ingestion → Add Data → Load data into a table again.
- Click Browse and select
routes.csv. - This time select the existing
ROUTES_DEMOdatabase instead of creating a new one. - Choose Create new table from the dropdown, name it
ROUTES, then click Next. - Click Next, then Load, and wait for the success message.
Step 3: Install FalkorDB from the Marketplace
- In the Snowflake sidebar, click Marketplace → Snowflake Marketplace.
- Search for FalkorDB and select the FalkorDB Native App listing.
- Click Get and follow the installation steps, granting the required privileges.
Step 4: Start the service
[]) means the service is still starting. Re-run get_service_status() until the result shows "status":"READY".
Step 5: Create indexes
Create indexes before loading so the route load (which usesMATCH on iata_code) stays fast, then verify they exist:
Step 6: Load airports
BindROUTES_DEMO.PUBLIC.AIRPORTS to consumer_data_table (see Bind Your Table), then load the airport nodes and count them:
Step 7: Load routes
Rebindconsumer_data_table to ROUTES_DEMO.PUBLIC.ROUTES, then load the relationships and count them:
Step 8: Ask a multi-hop question
Find flight paths from Sydney to New York JFK in up to 5 hops:The same question in SQL
For comparison, the equivalent recursive SQL over theROUTES table. The Cypher above expresses the traversal in three lines; the SQL needs a recursive CTE with manual cycle protection:
Complete Example: Social Network
Step 1: Create Sample Data Table
Step 2: Bind the Table
Follow the UI steps above to bindsocial_data table to FalkorDB.
Step 3: Load Nodes
- Columns are accessed by index:
row[0]= person_id,row[1]= name,row[2]= age,row[3]= city - MERGE on
idensures no duplicates when reloading data - Use CREATE instead of MERGE if you want one-time bulk loading
Step 4: Load Relationships
For relationships, you’ll need to bind a table that represents edges:social_relationships and load:
row[0] = person_id, row[1] = knows_id, row[2] = knows_since
Step 5: Query the Graph
Quick Start with Sample Data
FalkorDB includes a sample data loader for testing:Important Notes
Data Updates and Duplicates
Using MERGE for Upserts: FalkorDB supports MERGE with ON CREATE and ON MATCH directives to prevent duplicate nodes when reloading data. Recommended Approach: Use MERGE instead of CREATE for data that may be updated:- CREATE: Always creates new nodes (use for one-time bulk loads)
- MERGE: Matches existing or creates new (use for incremental updates)
CSV Data Access
When usingload_csv, access CSV columns by index using row[0], row[1], row[2], etc.:
Cost Management
FalkorDB runs on Snowflake Compute Pools, which charge based on usage:- ACTIVE pools charge continuously (even when idle)
- SUSPENDED pools don’t charge
Service Management
Cypher Query Language Basics
Creating Nodes
Creating Relationships
Querying
Advanced Queries
Snowflake Cortex Agent
The Native App can create a Snowflake Cortex Agent that uses FalkorDB tools. This gives business users and analysts a guided natural-language interface for graph workflows while still executing through app-owned Snowflake procedures. Watch how to get started: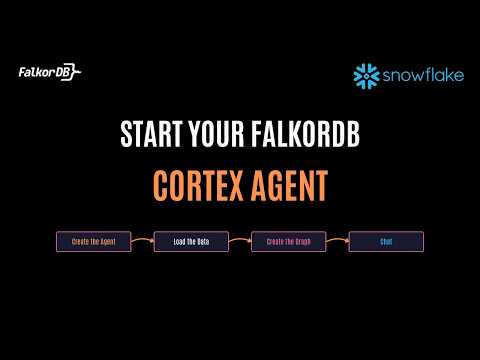 The Agent can:
Agent Setup
Start or refresh the app before creating the Agent: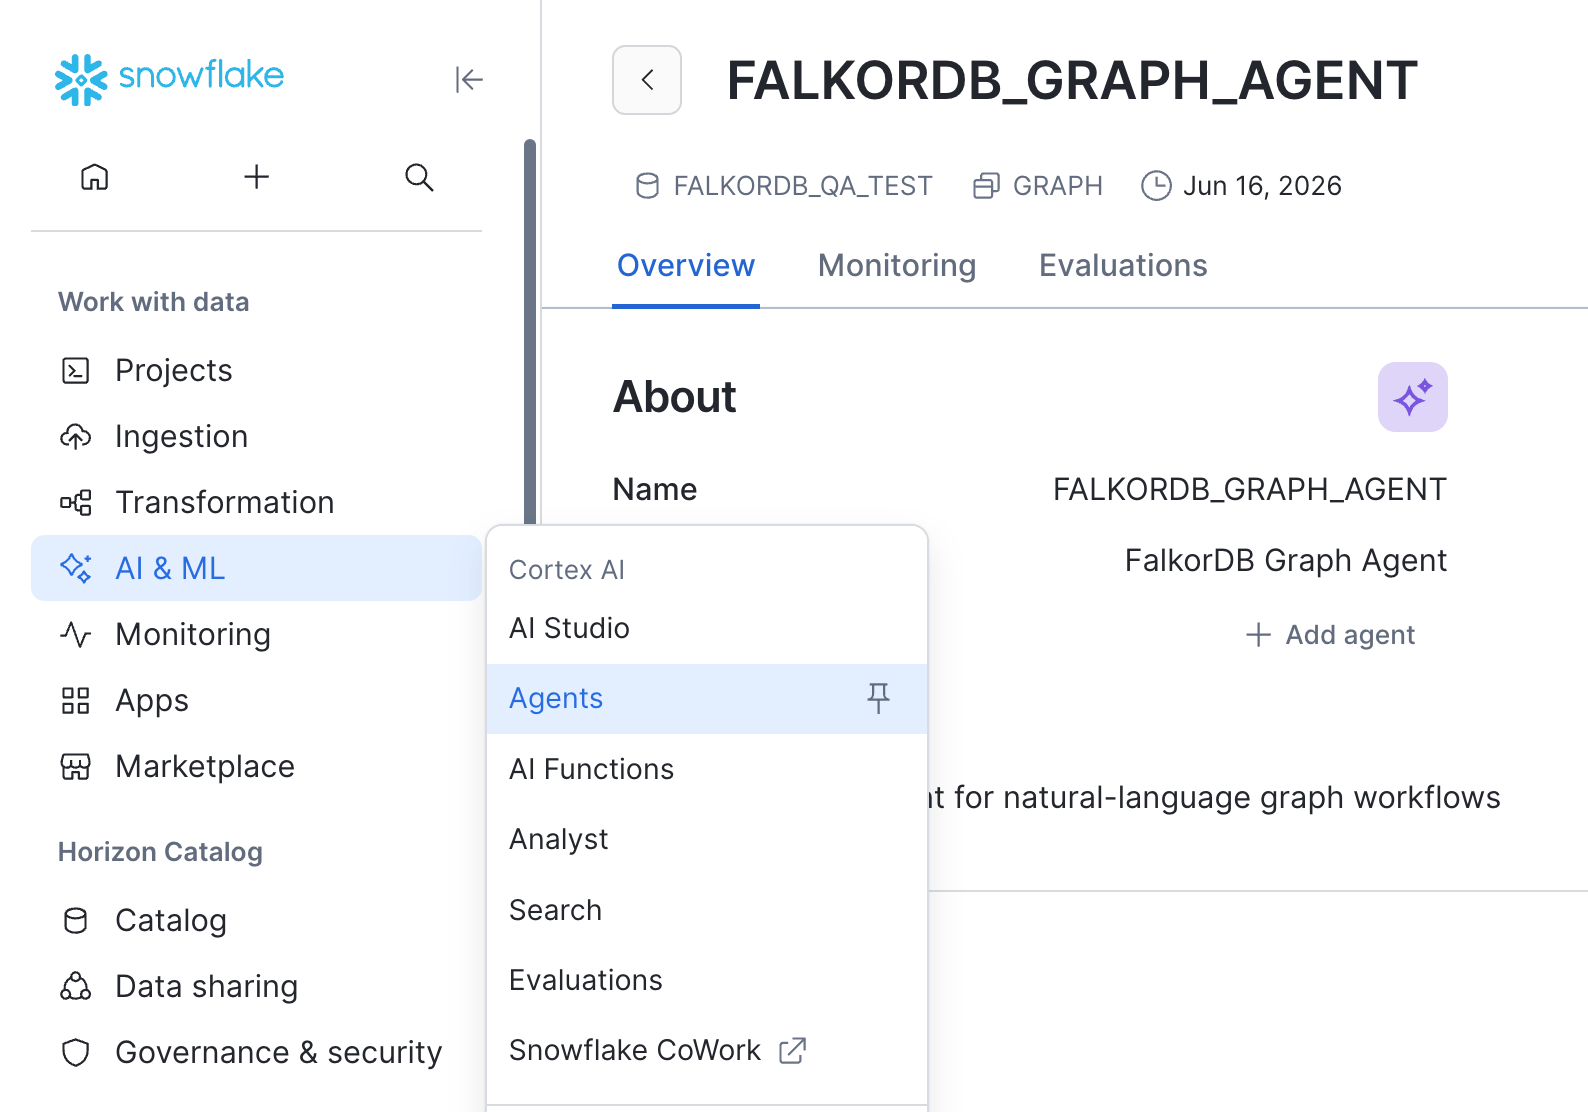
start_app() again and recreate the Agent so Snowflake receives the updated tool spec.
Asking Natural-language Graph Questions
Ask the Agent to generate Cypher first, then run it after review:run_cypher tool returns the exact cypher_query that ran. This is useful for review, debugging, and saving queries for later automation.
text_to_cypher builds schema context from the FalkorDB graph, including labels, relationship types, property keys, and basic graph statistics. This schema is the graph schema inside FalkorDB, not the original Snowflake table schema.
By default, text_to_cypher uses claude-4-sonnet. If you want a different Snowflake Cortex model for one generation, pass the optional model_name argument or ask the Agent to use that model:
model_name is omitted, NULL, or empty, the tool falls back to claude-4-sonnet.
Agent Loading Example
The Agent can help buildload_csv() statements, but the table must still be bound to consumer_data_table first. A good prompt includes the graph name and column order:
CREATE when every source row should produce a relationship. Use MERGE only when duplicate relationships should collapse or when you have a stable relationship key.
Agent Limits and Permissions
Snowflake procedure tools have a maximum timeout of 600 seconds. Theload_csv Agent tool uses this maximum. If a load exceeds the timeout, reduce the source table size, create indexes before loading relationships, or load the data in smaller batches.
If direct worksheet calls to SNOWFLAKE.CORTEX.COMPLETE(...) work but Agent text_to_cypher fails, verify that Cortex privileges were granted to the application, not only to your user role:
Public Procedure Reference
Troubleshooting
”Reference NOT bound” Error
Problem:load_csv() fails with reference error.
Solution: Ensure you’ve bound a table via the UI (Apps → FalkorDB → Security → References → Add).
Service Not Starting or Returning 503
Problem:get_service_status() shows an error state, or a query briefly returns 503 Connection refused.
Solution: Check container status and logs. A container can become READY before the internal API is fully accepting requests, so retry once after a short wait if status is otherwise healthy.
Column Not Found in CSV
Problem: Cypher query can’t access CSV columns. Solution: Use index-based access:row[0], row[1], row[2], etc. (not row.COLUMNNAME)
Unknown user-defined function SNOWFLAKE.CORTEX.COMPLETE
Problem: Agent text_to_cypher fails when trying to call Snowflake Cortex.
Solution: Grant both Cortex role access and imported privileges to the application, then rerun start_app() and recreate the Agent.
Agent Tool Does Not Exist
Problem: The Agent lists a tool such astext_to_cypher, but calls fail because the underlying procedure does not exist.
Solution: Run start_app() after installing or upgrading the app patch. start_app() creates and refreshes the app-owned tool procedures. Then recreate the Agent.
Write-back Permission Error
Problem:graph_query(..., OBJECT_CONSTRUCT('write', ...)) fails when creating the output table.
Solution: Grant the application USAGE on the target database/schema and CREATE TABLE on the target schema.
Performance Tips
- Create indexes before large
MERGEloads and before relationship loads that match nodes by ID. - Use specific labels in
MATCHclauses to reduce search space. - Limit result sets for exploration:
RETURN ... LIMIT 100. - Use idempotent loads so retries are safe after a failed multi-part import.
- Load nodes before relationships and validate counts between stages.
- Choose relationship semantics deliberately:
CREATEpreserves one edge per source row, whileMERGEcan collapse duplicates. - Scale resources for large graphs by passing
cpuRequest,memoryRequest,cpuLimit, andmemoryLimittostart_app().
Additional Resources
- Cypher Query Language: OpenCypher Documentation
- FalkorDB GitHub: github.com/FalkorDB/FalkorDB
- Snowflake Native Apps: Snowflake Documentation
Support
For issues, questions, or feature requests:- GitHub Issues: FalkorDB Snowflake Integration
- Community: FalkorDB Discord/Slack (check GitHub README for links)
Frequently Asked Questions
How do I install FalkorDB in Snowflake?
How do I install FalkorDB in Snowflake?
Install it as a Snowflake Native App from the Snowflake Marketplace. Search for ‘FalkorDB’, click Get, select your target database and warehouse, and complete the installation.
Does data leave Snowflake when using FalkorDB?
Does data leave Snowflake when using FalkorDB?
No, FalkorDB runs directly within your Snowflake environment as a Native App. Your data stays within Snowflake’s security perimeter - no external data movement is required.
How long does the initial setup take?
How long does the initial setup take?
After installation, call the
start_app procedure to create the compute pool and warehouse. The service typically reaches READY status within 2-3 minutes.What query language does FalkorDB use in Snowflake?
What query language does FalkorDB use in Snowflake?
FalkorDB uses the Cypher query language for all graph operations, including creating nodes and relationships, querying patterns, and running graph algorithms.
How can I optimize query performance in the Snowflake integration?
How can I optimize query performance in the Snowflake integration?
Create indexes on frequently matched properties, load nodes before relationships, use specific labels in MATCH clauses, limit exploratory result sets, make CSV loads idempotent, and scale the FalkorDB container resources for larger graphs.